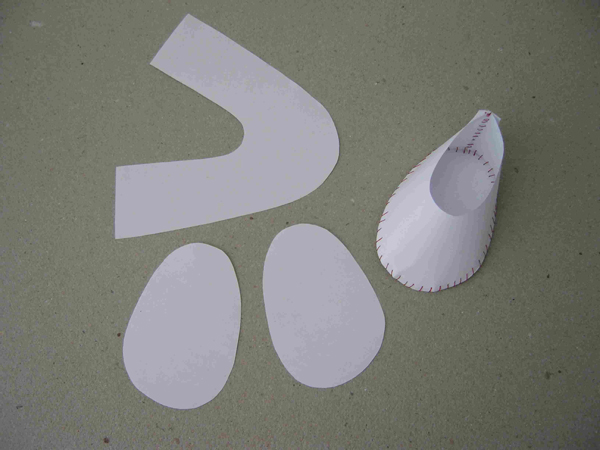
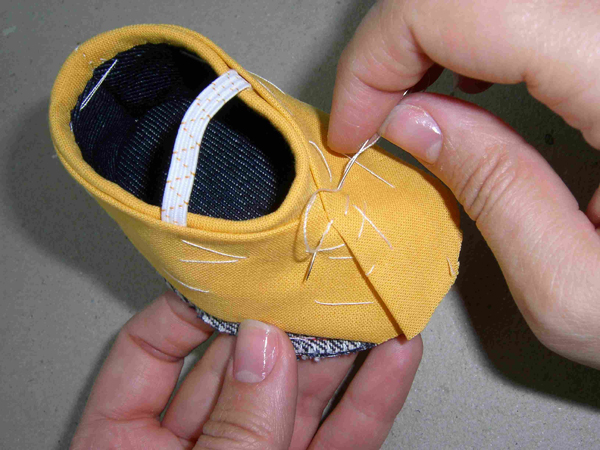
بنات الله يخليكم اللي تعرف تسوي بترونات لجزمات الجوخ زي هذي عجبتني مرة نفسي اسويها لبنوتي

 اضغطي هنا لمشاهدة الصورة بحجمها الأصلي


عضوة نشيطة
اضغطي هنا لمشاهدة الصورة بحجمها الأصلي
يلزم عليك تسجيل الدخول أولًا لكتابة تعليق.
Step 2...
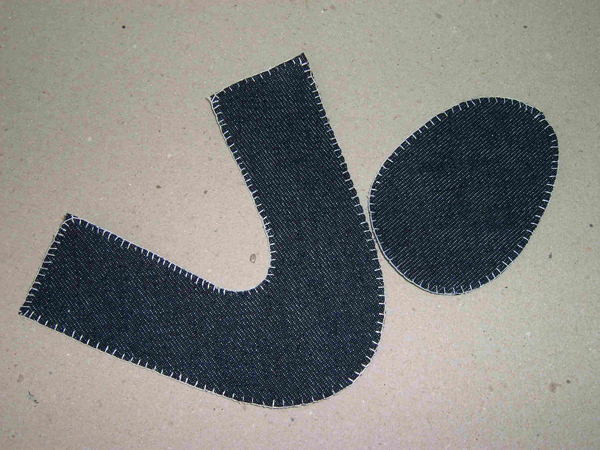
Iron the interfacing pieces to the back of each of the printed fabric pieces.
Step 3...
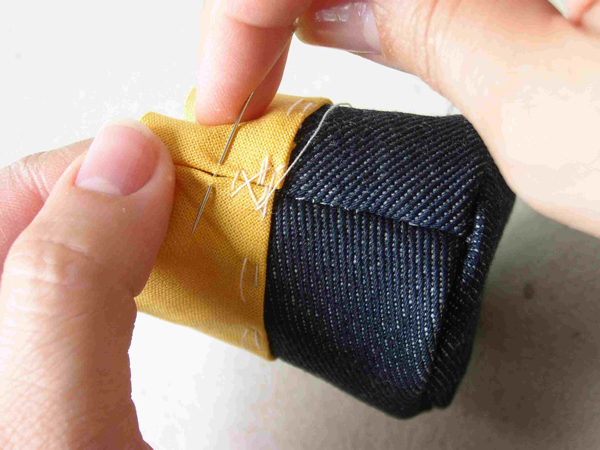
Sew The Straps.
FIRST add a strip of velcro to the correct side so you do not see the stitching
Then....
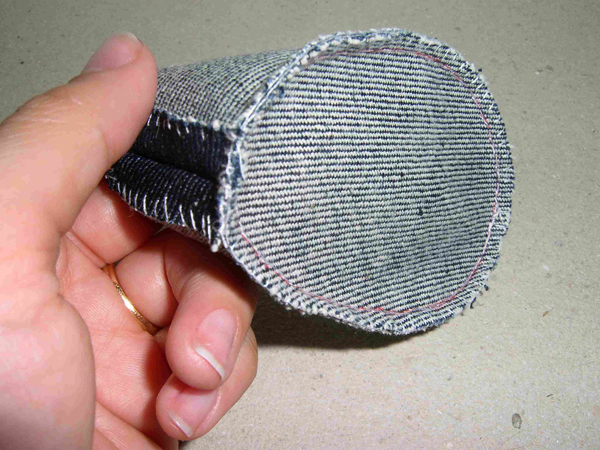
Pin the right sides together and sew leaving one of the short sides open.
Turn right side out and press with the iron.
Step 4...
Sew the lining onto the wrong side of the sole of the shoe.
Step 5...
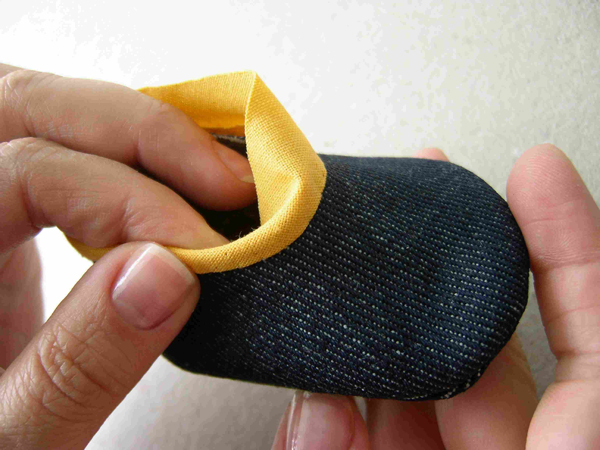
Now your ready to sew the top of the shoe.
Place the printed fabric piece down *Right side up
Place the strap (use the guide on the pattern to determine where)
Place the liner, pin, and sew the inside of the "U" but NOT the outside
Step 6...
Press the seams open.
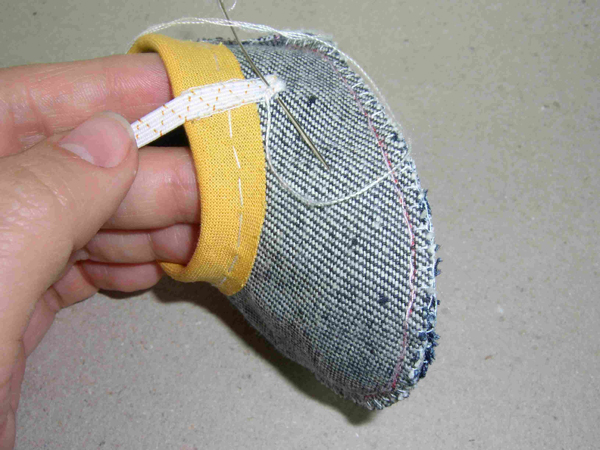
Step 7...
Open the "U" and pin the right sides of the printed fabric and right sides of the lining fabric together. Sew along the back of the heel.
Step 8...
Turn right sides out and press seams with the iron. Topstitch the top of the shoe ( I have done this here in blue thread so you can see but a coordinating thread is best)
Step 9...
Pin the right side of the sole to the right side of the top of the shoe. Sew. Turn right side out and press the seams. Attach the velcro to the strap and to the shoe.
Step 10...
Wear your shoes out on the town!
l